Finish trim plays a crucial role in elevating interior design, providing both aesthetic appeal and functional benefits to any space. As an essential component of finish carpentry, finish trim encompasses a variety of moldings and moldings styles used to frame doors, windows, baseboards, and other architectural features. Whether you are renovating a single room or orchestrating a comprehensive home remodel, understanding the nuances of finish trim is vital for achieving professional-grade results. This comprehensive guide aims to demystify the many aspects of finish trim—from types and styles to installation techniques, maintenance practices, and innovative trends—ensuring your projects stand out with masterful detailing and lasting quality. For those seeking expert craftsmanship and reliable solutions, exploring our offerings at Finish trim is an excellent starting point.
Understanding Finish Trim: Types and Applications
Common Styles of Finish Trim and Their Design Purposes
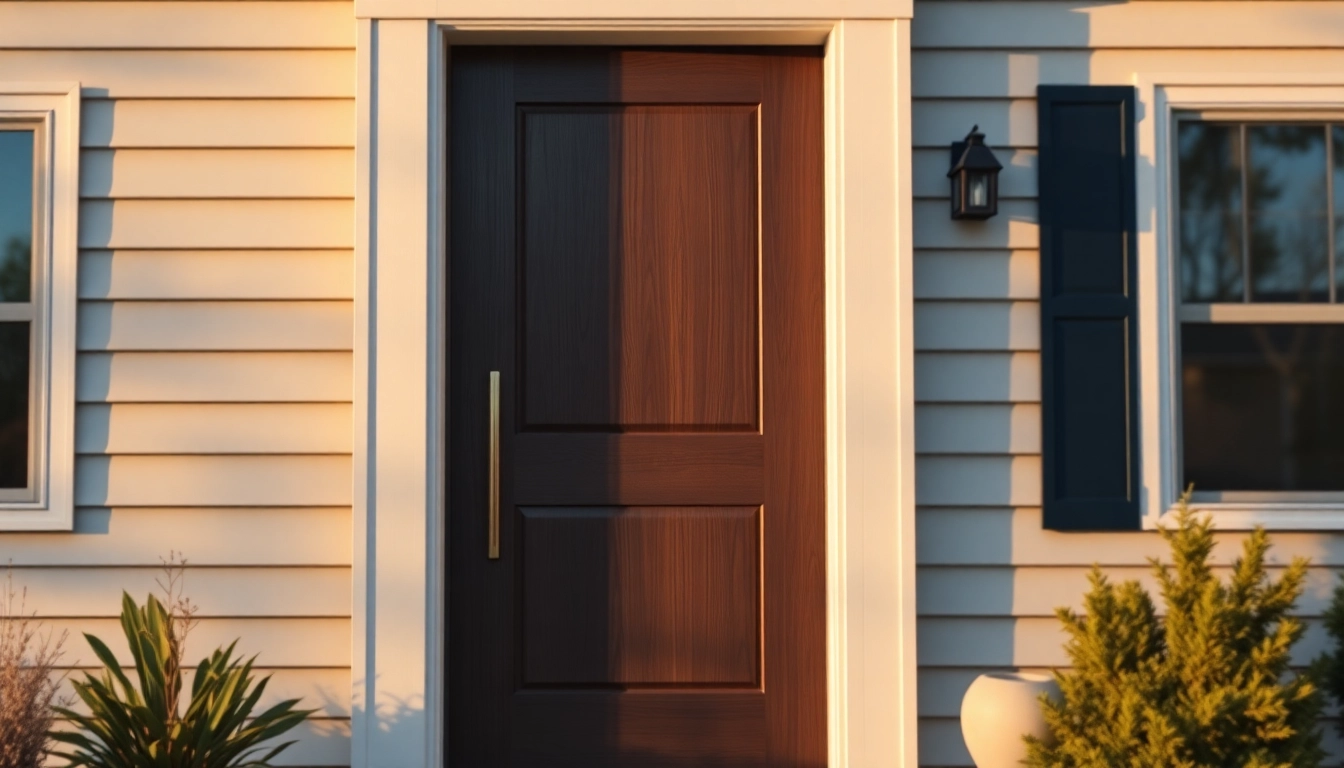
Finish trim is not a one-size-fits-all element; rather, it includes diverse styles tailored to specific architectural needs and interior aesthetics. Among the most prevalent styles are baseboards, crown molding, casings, and picture rails—all crafted to create visual transitions, focal points, and a sense of completeness. Baseboards, for example, serve both a protective and decorative purpose by covering the joint where the wall meets the floor, often enhancing the room’s proportion and style. Crown moldings provide elegant framing along the ceiling perimeter, adding height perception and architectural interest. Casings, the trim around doors and windows, define the style of the openings—ranging from simple, modern profiles to ornate, historic designs. Each style is chosen based on the furniture, room function, ceiling height, and overall design theme, whether traditional, modern, transitional, or eclectic.
Materials Used for Quality Finish Trim and How to Choose the Right One
Choosing the appropriate material for finish trim is foundational to achieving desirable results. Common options include solid wood, MDF (medium-density fiberboard), PVC, and composite materials. Solid wood remains the gold standard for high-end applications because of its durability, natural beauty, and ease of finishing. Popular woods include oak, maple, cherry, and pine, each offering unique grain patterns and staining properties. MDF is favored for its stability, smooth surface, and affordability, especially when painting, but it can be less resistant to moisture. PVC and composite trims are ideal for humid environments like bathrooms and kitchens, providing water resistance and low maintenance. When selecting materials, consider the room environment, desired finish, budget, and installation complexity. For example, a formal living room might favor hardwood trim for its elegance, whereas a utility room might require the durability of PVC.
How Finish Trim Enhances Interior Aesthetics and Functionality
Finish trim serves dual roles: it accentuates the architectural details and shields underlying structures from damage. Carefully selected and expertly installed trim can transform a plain interior into a polished masterpiece, emphasizing proportions and creating visual hierarchy. For example, detailed crown molding can give rooms a luxurious appearance, while simple baseboards provide a clean transition from wall to floor. Beyond aesthetics, finish trim helps conceal gaps, imperfections, and uneven edges, ensuring a uniform look. Properly finished trim also improves acoustics by reducing sound transmission between rooms and prevents drafts and pests from entering through gaps. In sidings and exteriors, finish trim adds weather resistance and durability. Overall, it is a fundamental element for both beauty and performance in interior and exterior design.
Step-by-Step Guide to Installing Finish Trim
Measuring and Planning for Precise Cuts
Accurate measurement and planning form the backbone of professional finish trim installation. Begin by carefully measuring the length of each wall, window, or door opening to determine the exact length of trim needed. Always add a slight margin for error and cutting allowances. Use high-quality measuring tapes, squares, and levels to mark your cuts. Planning includes deciding on the profiles and styles, sketching layouts, and considering joints—such as mitered corners or butt joints—before making any cuts. For complex corners and angles, precise calculations and templates are essential to ensure seamless fits. To streamline the process, create detailed cut lists and diagrams, and double-check measurements before cutting to avoid waste and rework.
Tools and Techniques for Accurate Trimming and Fitting
The right tools make all the difference in achieving a flawless finish. Essential tools include miter saws for precise angled cuts, nail guns or hammer and finishing nails for attachment, level and straightedge for alignment, and sanders for smoothing edges. When fitting the trim, measure twice, cut once to maintain precision. Miter joints are standard for corners, requiring careful setting of angles—most commonly 45 degrees—on a quality saw. Clamps may be used to hold pieces steady during fitting, especially with intricate joints or longer lengths. For awkward or hard-to-reach areas, extendable tools or special fixtures can improve control. Remember, proper fitting depends on meticulous measurement, accurate cuts, and thorough dry-fit checks before fastening permanently.
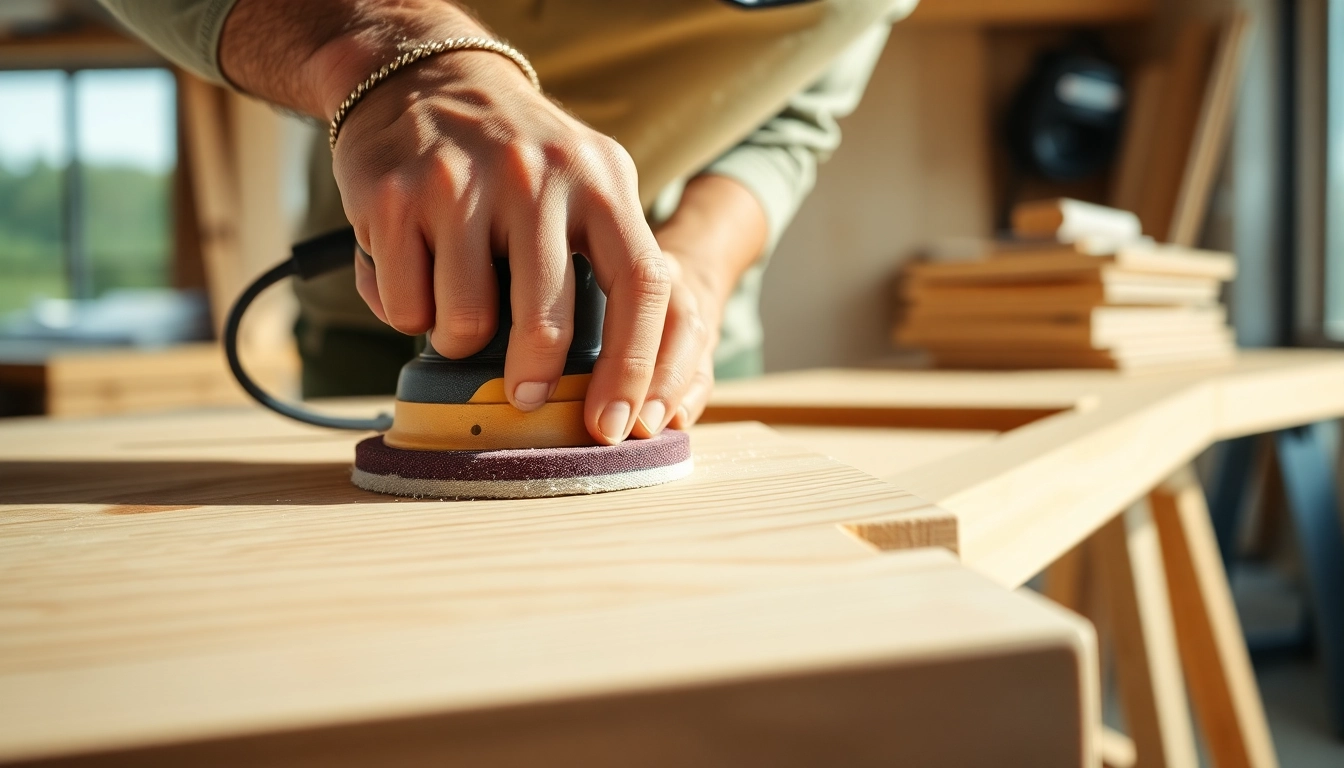
Finishing Touches: Sanding, Sealing, and Painting for a Professional Look
Once securely installed, finish trim requires finishing touches to achieve a polished appearance. Begin by lightly sanding all edges and joints to eliminate roughness and seams, ensuring a smooth transition between pieces and against the wall or ceiling. Fill gaps or nail holes with wood filler or caulk, then sand again for a seamless surface. Sealing is critical, especially with wood trim, to prevent moisture absorption and warping. A primer or sealant applied before painting enhances adhesion and durability. For paint finishes, choose high-quality latex or oil-based paints; matte, satin, or semi-gloss sheens influence the room’s mood and maintenance requirements. For a natural wood look, use stains and clear finishes to highlight grain patterns. Proper finishing ensures your finish trim looks impeccable and resists everyday wear.
Best Practices for Achieving a High-Quality Finish
Preparation Tips for Smooth Surface Application
Preparation is key to professional-grade finish trim. Ensure all surfaces are clean, dry, and free of dust, grease, or old paint. Use a putty knife to remove any protrusions or uneven surfaces. If working with new wood, acclimate it to the environment to prevent shrinkage or swelling later. For surfaces with previous paint or finish, light sanding promotes better adhesion. Mark your layout carefully; double-check measurements and alignments. Invest in quality tools—sharp blades, even-nail guns, and fine-grit sanders—to facilitate precise work. Proper preparation minimizes future issues such as chipping, peeling, or gaps, ultimately saving time and cost.
Paint, Stain, and Sheen Options for Optimal Results
The finish you choose profoundly influences the appearance and longevity of your trim. For a classic and sophisticated look, high-gloss paints are durable and reflect light, emphasizing clean edges. Satin or semi-gloss finishes balance sheen and durability, making them popular in modern and transitional interiors. Matte finishes hide imperfections but are less resistant to cleaning. When opting for a wood finish, stains can enhance natural grain, complemented by protective clear coats like polyurethane for durability. Consider the room’s function—kitchens and bathrooms benefit from water-resistant finishes, while living spaces might favor matte or satin sheens for subtler effects. Matching trim sheen with adjacent walls and furnishings creates harmonious visual flow.
Common Mistakes to Avoid During Final Finishing
Despite careful planning, certain pitfalls can compromise the quality of your finish trim. Common errors include over-brushing, which causes uneven coats, or neglecting to sand between coats, resulting in visible brush marks. Applying paint or stain in low-quality conditions—extreme heat, humidity, or direct sunlight—can cause uneven curing. Rushing the process by skipping primer or sealant can lead to peeling or blotchiness. Not allowing sufficient drying time or failing to clean tools thoroughly may leave residues that affect finish quality. Lastly, mismatched shear or neglecting to fill and sand imperfections will detract from the seamless look. Being meticulous, patient, and attentive to detail during the final stages will ensure a truly professional appearance.
Maintenance and Longevity of Finish Trim
Cleaning and Care Routines to Preserve Appearance
Proper maintenance extends the lifespan and preserves the aesthetic appeal of finish trim. Regular dusting with a soft cloth or microfiber duster prevents dirt buildup. For more thorough cleaning, use a damp cloth with mild soap—avoid harsh chemicals that can damage paint or stain finishes. Periodically inspect trim for chips, scratches, or nail pops, and perform necessary repairs promptly to prevent deterioration. Applying a fresh coat of paint or sealant every few years can refresh appearance and add a protective layer against moisture and wear. In high-traffic or humid areas, using mildew-resistant or water-repellent finishes enhances durability.
Repairing and Refurbishing Distressed Trim
Over time, even the most carefully maintained trim may sustain damage. Common issues include scratches, gouges, or peeling paint. Minor scratches can often be buffed out with fine-grit sandpaper, followed by touch-up paint or stain. For more extensive damage, removing and replacing affected sections may be necessary. Refinishing distressed trim involves sanding the entire piece, applying a primer, and repainting or staining to match the original finish. When repairing joints or joints become loose, re-nailed and re-caulking with appropriate fillers ensures structural integrity and a seamless look. Using high-quality matching paints or stains is crucial for a cohesive restoration.
When and How to Update or Replace Old Finish Trim
Homeowners often need to update outdated or worn trim to modernize interiors or improve functionality. Signs that replacement is warranted include extensive damage, warping, or style mismatch. To update existing trim, consider carefully removing it, then re-finishing or installing new profiles aligned with current design trends. For new installations, selecting contemporary profiles like simplified ovals, sleek flat profiles, or decorative details can dramatically change a space’s character. When replacing old trim, ensure proper measurement, accurate cuts, and precise installation. It’s also an opportunity to choose environmentally friendly and durable materials that require less maintenance, ensuring your investment pays off over the long term.
Innovative Trends and Customization in Finish Trim
Decorative Edge Profiles and Moldings for Modern Interiors
Today’s interior designs increasingly emphasize personalized and distinctive finish trim options. Decorative edge profiles—such as ogee, bevel, or curved shapes—add visual interest and depth. Custom moldings, including multi-layered profiles with intricate carvings or minimalist geometric lines, enable homeowners to create unique character in their spaces. Combining traditional motifs with contemporary styles—like pairing ornate crown moldings with flat wall panels—offers a dynamic aesthetic. Custom CNC-cut designs and laser-engraved details further enable personalization, allowing the integration of monograms, patterns, or motifs that reflect individual taste.
Using Contrasting Paints and Finishes for Visual Impact
Color contrast is a powerful tool in interior design. Painting the trim in a different color than the walls creates striking visual boundaries and emphasizes architectural details. For instance, crisp white trim against bold, deep-colored walls enhances the room’s symmetry and elegance. Alternatively, using contrasting stains or finishes—such as a dark chocolate stain on light wood—adds depth and richness. Finishes like matte or satin on trim paired with high-gloss walls can create a modern, layered effect. When employing contrasting colors, ensure proper preparation to avoid bleed-through and ensure clean lines for a polished appearance.
Integrating Finish Trim with Other Design Elements for Cohesive Spaces
A holistic approach to interior design involves harmonizing finish trim with flooring, cabinetry, and decorative accents. Aligning trim profiles with other moldings or architectural features creates visual consistency. For example, matching crown molding and baseboards with door casings in style and finish fosters coherence. Incorporating alternative materials—such as metal or painted wood for trim—can add contemporary flair. Utilization of custom profiles and finishes supports the creation of themed environments, whether rustic, industrial, or ultra-modern. Thoughtful integration elevates the space from merely functional to truly inspiring.